Quick Start
From an empty server to a working FieldOps platform and a Flutter app build.
The Fast Path
Who does what? Steps 1, 3 and 5 need someone with server access (upload, database, cron, worker) or a Flutter developer (the app). Everything else, including branding, payment gateways, messaging, AI keys, plans and languages, is done in the browser without code. Full table: Start Here: Who Does What.
Install the web app first, with the guide for your hosting: VPS guide or cPanel guide. Then connect your services and build the app.
What Is in the Package
| Folder | Contents |
|---|---|
Main_Files/WebSourceCode | The Laravel 13 web app: platform console, company workspace, customer portal, public website, REST API v1, installer, migrations, seeders, deploy/ (nginx, PHP, Supervisor, cron, deploy script) and the tests |
Main_Files/AppSourceCode | The Flutter app (Android and iOS from one codebase) with its README.md |
documentation | This documentation: Quick Start, Common Setup, Web Platform and Mobile App |
Plain, readable PHP and Dart: no encoded files. The compiled CSS/JS are in public/build, so Node.js is only needed when you rebuild them. The package has no vendor/ folder; the install guides include the one command that creates it.
1. Install the Web App
Choose the guide for your hosting and follow it from top to bottom. Each guide covers everything: upload, PHP libraries, database, HTTPS, the web installer and background jobs.
2. First Run
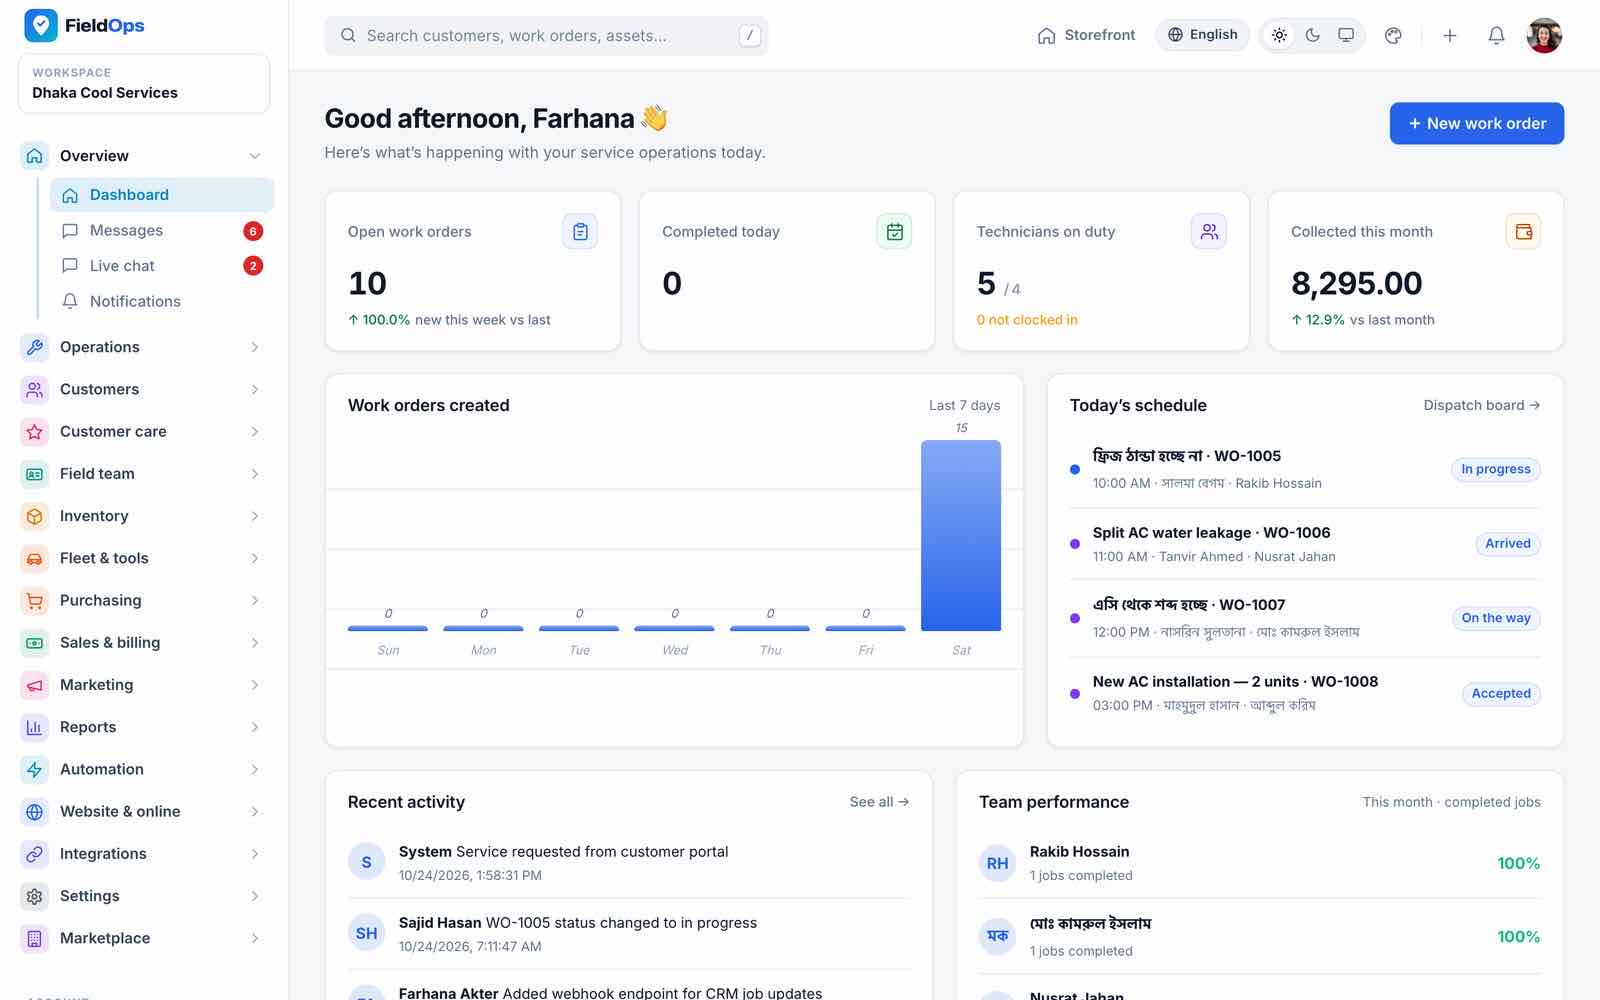
Sign in
Open
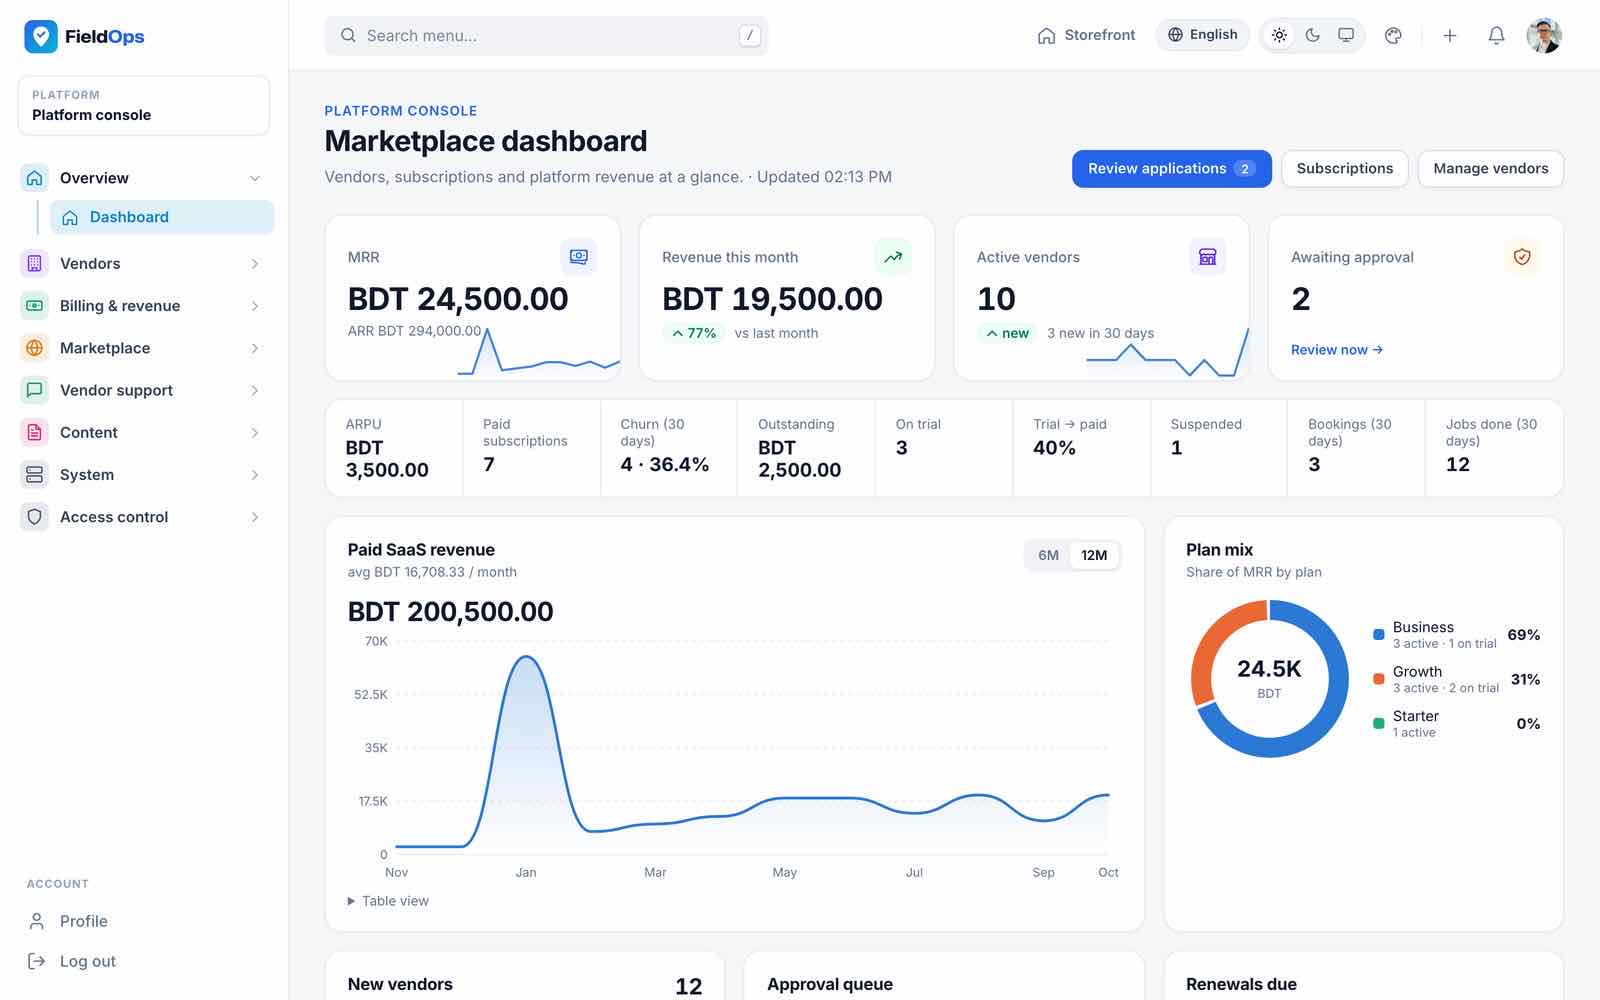
/loginwith the owner account from the installer. You land in the company workspace; the platform console is at/admin.Brand it
System → Platform settings: name, logos, favicon, website design, panel theme, currency, time zone.Set up the company
Settings → Workspace settings, Branches, Users & access (add technicians), Price book.Readiness report
php artisan fieldops:check-productionlists what is still missing.
3. Cron & Queue
Your install guide already sets these up (VPS Step 6 or cPanel Step 7). After a few minutes System → Platform health shows the scheduler heartbeat and the queue. For instant live chat also run Reverb (Common Setup → Reverb). Full details: Cron, Queue Worker.
4. Mail, Payments & Messaging
Mail
Enter your SMTP details in System → Platform settings (Mail).
Customer payments
Website & online → Online payments: add SSLCommerz, Stripe, bKash, PayPal, Razorpay, Paystack or Flutterwave in sandbox mode (or bank transfer / manual) and register the webhook URL at the gateway, for examplehttps://app.example.com/payments/stripe/webhook/{company-id}(all URLs and events).Vendor subscription payments
Only with the marketplace on: Billing & revenue → Payment gateways, webhook owner
platform.SMS, WhatsApp, push
Automation → Customer notifications → Channels, then Send test (SMS, WhatsApp & Push).AI (optional)
Integrations → AI settings: paste an Anthropic API key and press Test (AI Assistant).Test
Book a service on your website, convert it to a work order, assign a technician, complete it in the app and pay the invoice with a sandbox card.
5. Build the App
The Flutter app is in Main_Files/AppSourceCode. It needs only the URL of your web install:
cd AppSourceCode
flutter pub get
flutter run --dart-define=API_BASE_URL=https://app.example.com
Before publishing, change the application id (com.fieldops.app), the app name and icons, add your Firebase files for push, and sign the release with your own keystore and Apple team. Everything is in Mobile App.
The app’s name, logo and brand colour follow your Platform settings at runtime (GET /api/v1/branding), so a rebrand in the console also shows in the app.
6. Go-Live Checklist
Required versus optional items are explained in Ready to Go Live?.
APP_ENV=production,APP_DEBUG=false,APP_DEMO=false,APP_URLis yourhttps://address.- HTTPS with a valid certificate;
SESSION_SECURE_COOKIE=true. - Cron installed; Platform health shows the scheduler heartbeat.
- Queue worker running on
notifications,webhooks,default. - Mail is not on
log; a test e-mail arrives; SPF/DKIM set. php artisan fieldops:check-productionshows 0 critical items.- Payment webhooks registered and one sandbox payment confirmed per gateway.
- Backups enabled, one restore tested, a copy kept off the server;
APP_KEYstored safely. - Strong passwords and two-factor authentication on admin accounts.
Ongoing Costs
The item price covers the source code. Running the platform has costs you pay to the providers directly: hosting and domain, an e-mail service, payment gateway fees, an SMS provider, WhatsApp Cloud API conversations, Anthropic API usage when you provide the platform AI key, optionally your own OSRM server, and Apple Developer / Google Play Console accounts for the app. Firebase Cloud Messaging and OpenStreetMap maps need no paid account. Full table: Third-Party Services & Costs.
